Break the layout into sections
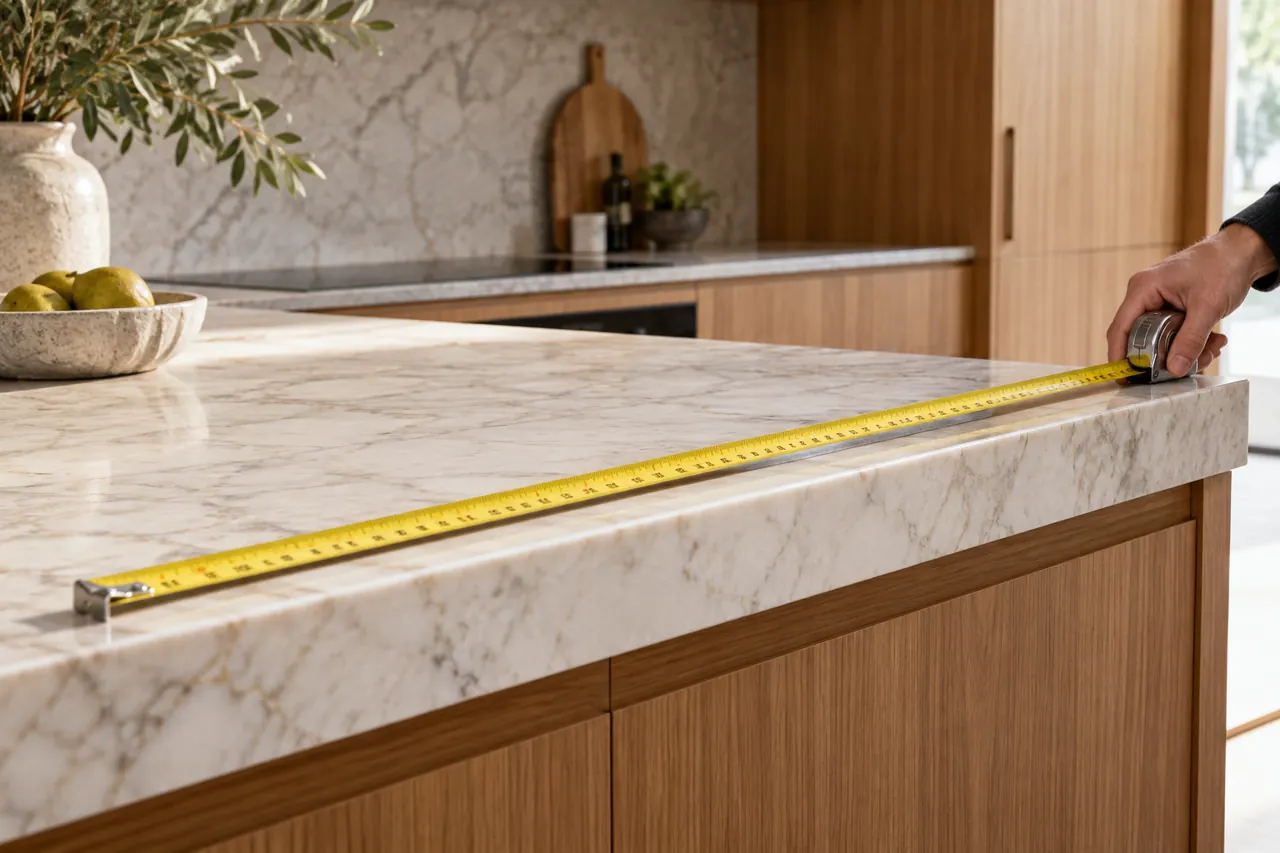
Label the island A, the main run B and the return C. Measure length and width for each section in millimetres. Record vertical waterfall panels separately. For an L-shaped kitchen, show where the rectangles meet so the corner is not accidentally counted twice.
Mark fittings and shapes
Sketch sinks, taps, cooktops, sockets and other penetrations in approximately the right position. Note rounded corners, curves and unusual edge profiles. Overall area is useful, but it does not describe the installation complexity or how material will be laid out.
Photograph the details
Provide one full view per section, a close-up of the edge, and images of any existing damage. A second angle looking across the surface helps show sheen. Keep originals where possible; heavily compressed screenshots may hide fine surface details.
Send the complete brief
Include your suburb, material if known, desired finish, installation or supply-only preference and timing. Measurements are for initial quotation and planning; do not order cut material based on uncertain dimensions. Any final size requirements must be confirmed for the chosen supply or installation process.
Single-section area calculator
Enter millimetres. Add separate sections individually.
Area only. This does not calculate a price, roll quantity, waste allowance or installation suitability.
Ready to discuss your project?
Send your photos and details. We confirm suitability, scope and pricing before work or supply is booked.
Start an enquiry ↗